Here at The Wristband Co., we’re starting to get excited about the party season. The weather is warming up, and the summer feel is in the air. Plus, Christmas is around the corner. PLUS, we are starting to see restrictions lifting – NSW and VIC, we’re raising our glasses – and custom wristbands to you!
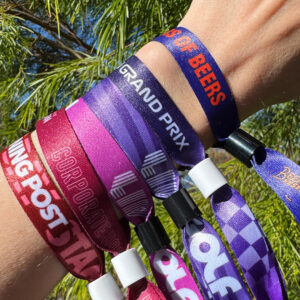
People are starting to feel the summer vibes, and we’ve been printing some amazing coloured wristbands for clients this month! We’re seeing more party orders roll in, with custom wristbands being super popular right now. But especially in-demand for summer 21/22 are custom festival wristbands – Charlie’s “Charliechella” we’re looking at you right now!
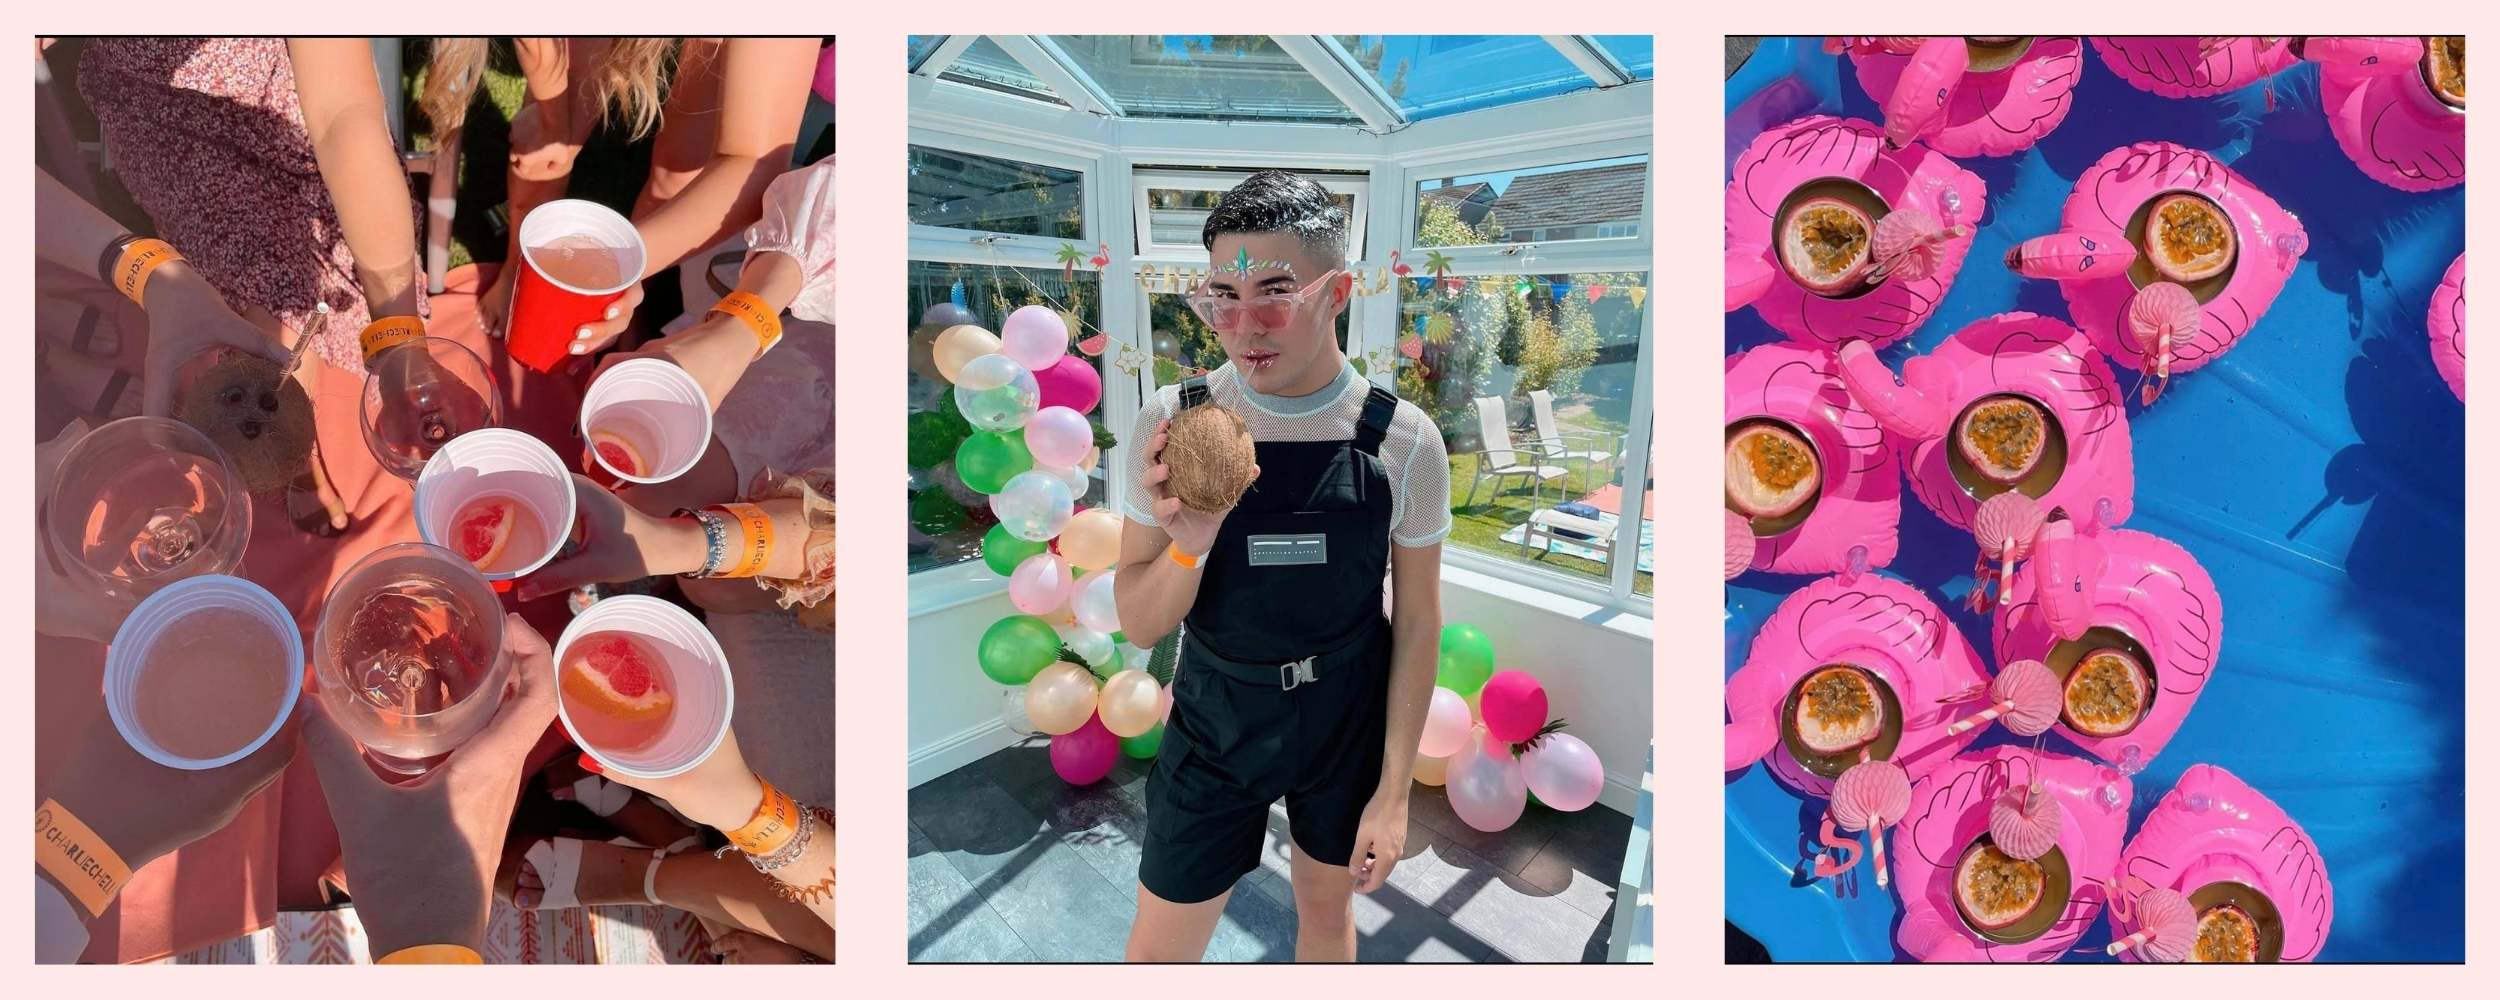
When we posted these images on Instagram, we got a flood of messages from green-eyed people asking us how to customise their own festival themed party wristbands! So, we decided to put together a five-step guide for you to follow to create your own festival wristbands. The great news is, our wristband designer is incredibly easy to use; in fact, in a recent survey we conducted, 90.32% of our customers said our wristband designer was “extremely easy to use!”
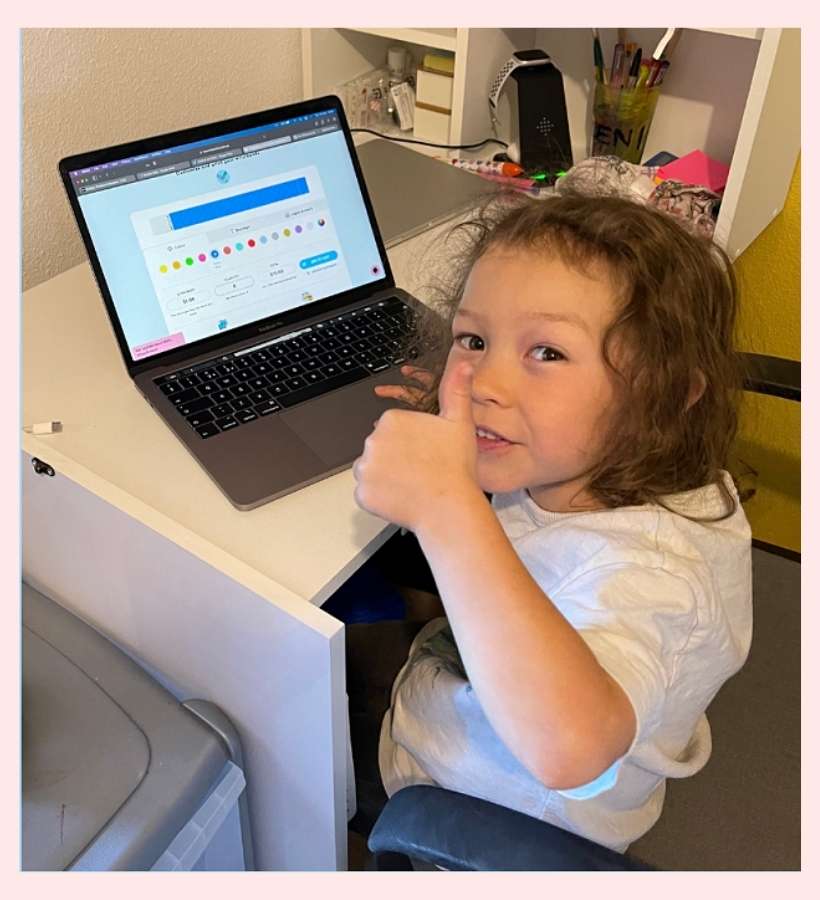
A family friend, Jen, has their child’s birthday coming up, so we put her to the test. She’s throwing a festival themed birthday party, and she’s never used our custom wristband creator tool before. How easy will she find it to create – from scratch – some unique colour wristbands using our step-by-step guide? Let’s find out!
Head to our wristband designer
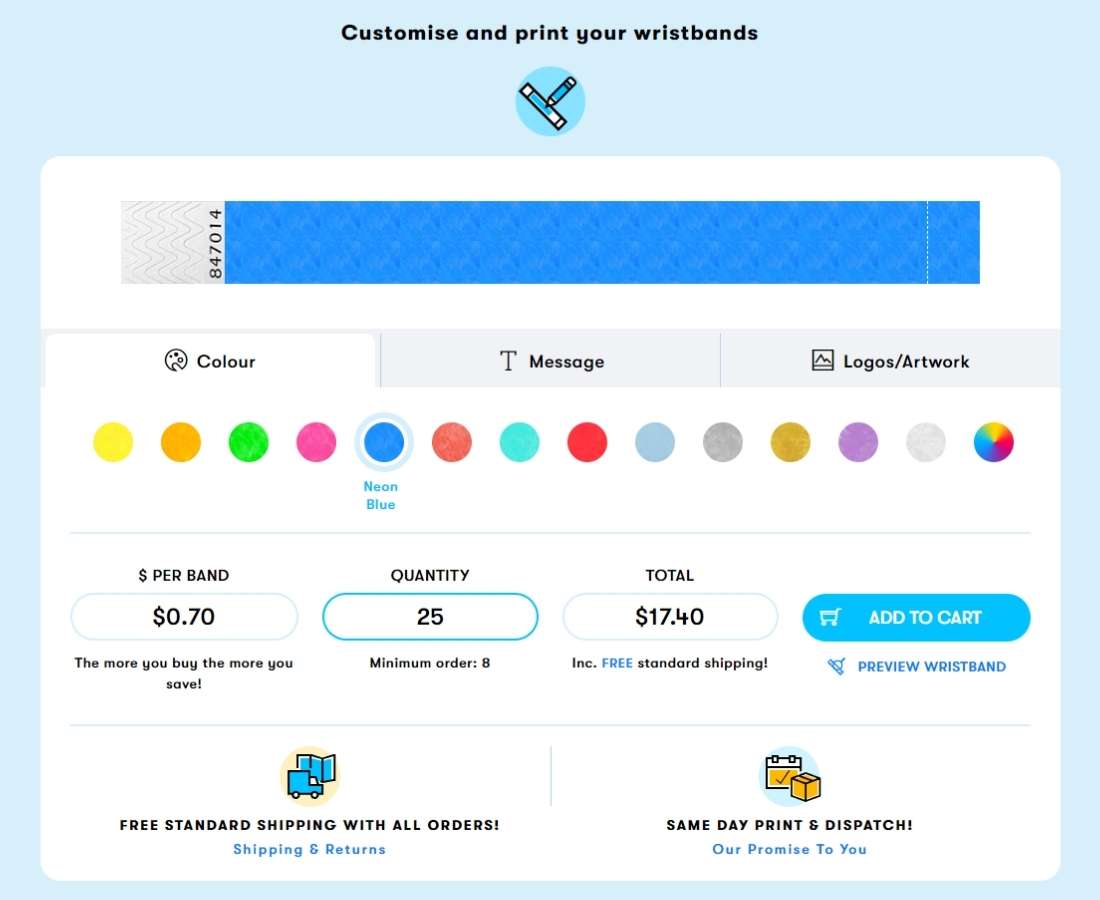
► Once you arrive at our wristband designer, you will see three tabs; Colour, Message and Logo/Artwork.
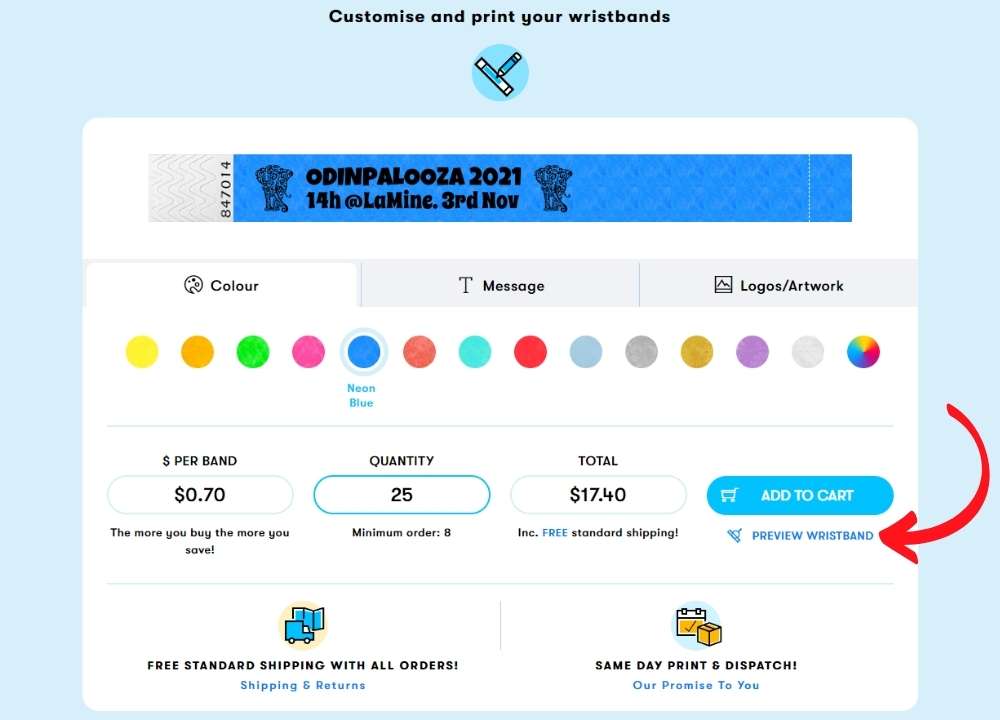
Pick your wristband colour
► The colour tab will enable you to choose from 13 vibrant coloured wristbands or choose the mixed colour option if you would like a variety of colours for your party attendees to choose from! Just a small note; there is a minimum quantity per colour of 8 custom wristbands.
So, how did Jen find this step?: “My child came and had a play with me and they decided to go with the neon blue colour! It was super easy to click through the options and choose the one we liked the most!”
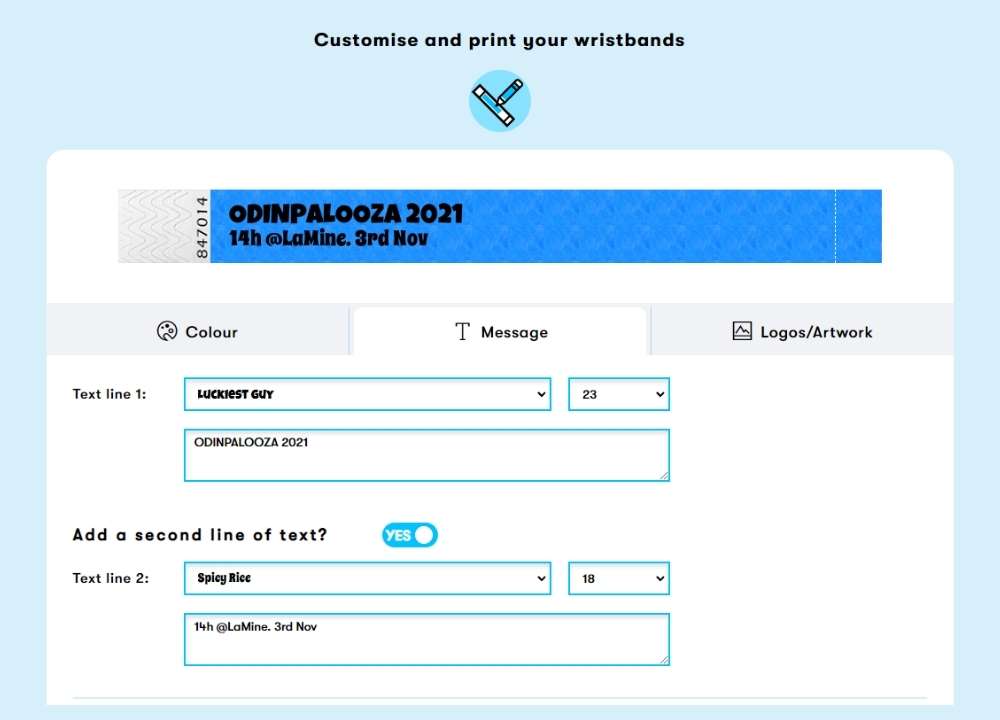
Choose your font and write your text – have fun with it!
► The message tab will allow you to type in two lines of text; you can adjust the size of the text and choose from a wide selection of fonts from the drop-down menu.
This is where you can start to flex your creative muscles. Think about your message and the tone of voice. Is it a formal gathering? A workplace event or a fun, family and friends party? Once you have the words, you can play around with the different font styles on offer and text size to fit in with your event theme. If you’ve got a specific font you want to use that we don’t have listed, get in touch, and we can absolutely help!
If you’ve got lots of information you want to add to your custom wristbands, perhaps think about adding a QR code that you can customise to add specific details about your event for your attendees – you can add QR codes to your colour wristbands at no extra cost, more about that in step 4!
So, how did Jen find this step?: “For the birthday party, we’re having a festival themed day: Odinpalooza 2021. So having festival wristbands is just perfect! Our idea is that rather than giving all the kids birthday invites, they get wristbands with their information. So that was nice and easy. It took me a bit longer to try some of the different fonts and get the size of the words right. But it was pretty straightforward – and easy! I’m also trying to avoid all the plastic “junk” that comes along with kids’ birthdays! So I like the idea that the wristbands can be recycled after the birthday party!”
Add your own logo/artwork, or choose from The Wristband Co.’s selection of clip art style images.
► The logos/artwork tab will allow you to either upload your own image and/or logo to the wristband, or you can choose from our wide selection of clip art style images. You can also choose from various placements for your logo/artwork by easily selecting the options within the “position” drop-down menu.
You can choose from our stylised artwork, opting for either one image on either side, two different images on each side, or the same image on both sides. In addition, there is a wide selection of images suitable for all events: from hen and stag images to baby showers, weddings, festivals, birthday parties, VIP events, staff and work meetings and more! Plus, if the icon you want isn’t here, don’t worry, get in touch with us, and we will source the perfect image for you – we love to hear your new and original ideas and create the best custom wristbands Australia has ever seen!
If you’d like to upload your own image or add a company logo, you can do this easily by clicking “upload your own artwork/logo” – Just make sure it’s either a JPEG or PNG and is no bigger than 2MB. Also remember, that if your artwork is coloured, the wristband colour you choose could potentially alter the colour of your artwork once printed; for this reason, we always suggest if you are wanting to print coloured artwork, pick a lighter wristband; like sky blue, white or silver! If you need assistance in adding your artwork/logo, you can email us directly: [email protected] or send us a message here – we’re always happy to help!
At this stage, you can also upload your QR code at no extra cost!
So, how did Jen find this step?: “This part took me a while! I was having too much fun with the icons! I opted not to ask the 5-year-old as I realised I would be here all night! I considered creating my own icon or uploading an image, but then I remembered that this was for a 5-year-old birthday party, and I chose the festival elephants!”
![]()
Check your design and place your order!
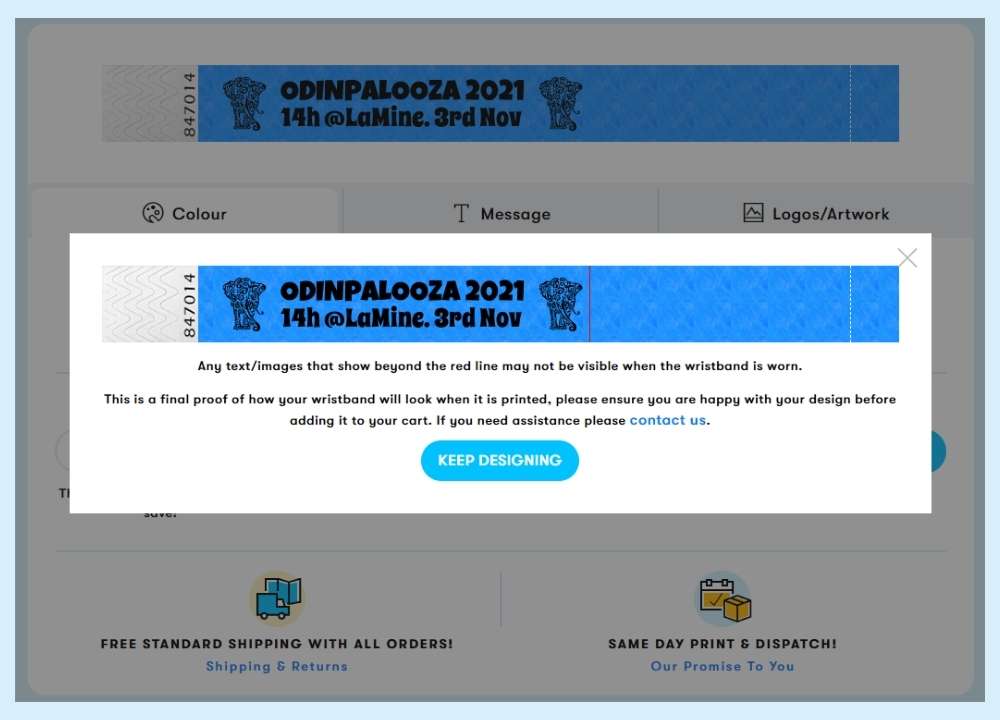
If you’ve ever ordered anything online, this point needs no explanation! The minimum order of wristbands is 8, and the price per coloured wristband reduces the more you buy and is updated in real-time as you change your quantities. BUT, before you add your custom wristbands to your shopping basket, don’t forget to click “Preview Wristband” to make sure you are happy with your design; the preview will also indicate how much of your wristband design can be seen once the custom wristbands are worn (see below image!)
So, how did Jen find this step?: “Nice and easy, ordered a few more than needed because I’m 100% I will need more than I think I do! I’m also super glad I clicked on the preview design because I realised that I had filled up a lot of the area that would be covered up when the wristbands are worn. So I quickly went back and corrected it.”
Jen’s conclusion: “The design process was so easy to do and took me probably 30 minutes from start to finish. The problem will be that now I know how easy this is – and that I’m also going to get a lot of praise for how great they are! So I’m going to be back here ordering them for every family get-together!”
Short on time? Head to our pre designed wristbands page!
Even easier than following our five steps to create your custom festival wristbands! Just head directly to our premade birthday party wristbands or festival wristbands pages. So if you’re short of time but still want to have eye-catching customised wristbands, these predesigned coloured wristbands have got you covered. For even more options, check out our other custom wristband options! Choose from custom silicone wristbands with glow-in-the-dark and glitter-finish effects, as well as our customisable eco-friendly fabric wristbands.
We hope you have enjoyed reading this blog and that you have found our five-step guide helpful; if you have any questions, comments or suggestions regarding our custom event wristbands, or future blog posts, head to our contact us page here and get in touch.![]()
We cannot wait to share more with you!